Super Simple DIY Studio Guide For Online Course Beginners
Creating a DIY Studio for Recording Course Videos
Do you know how Justin Bieber became famous? His mom put his home videos on Youtube.
Do you know what some famous Instagrammers like @findingmorgantyler use as a tripod? A shoe.
The lesson? You don’t need fancy recording equipment to successfully shoot video (not that it hurts though).
Creating high-quality video professional enough to publish for your online course doesn’t have to be hard. You can create a professional home recording studio with things you already own or that you can get on the cheap. Later, you can invest a few more dollars when the time comes to upgrade different elements of your studio.
Get it done: Download our DIY Studio Set-up Guide!
Here are the basics of what you need to set up your studio:
- some sort of camera
- a stand
- a solid background
- a microphone or another sound recording device
- an editing program
- natural light
- fluffy things
Let’s talk about each!
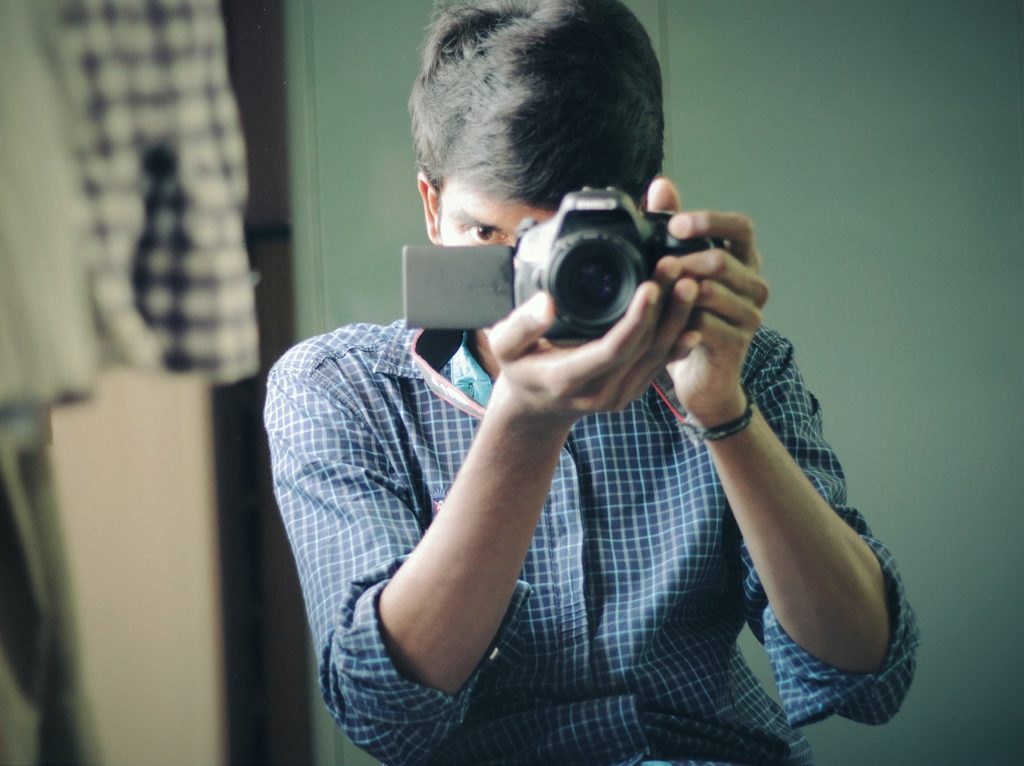
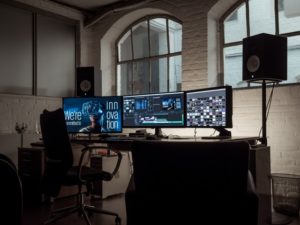
The Camera
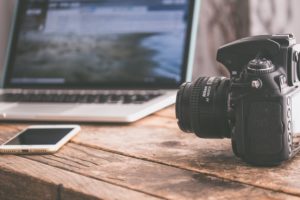
You can film with your laptop, camera, or phone. With your phone, shoot horizontally. With a laptop, shoot upright. This will create a widescreen video and that is what we want.
If you’re using your laptop, make sure your camera is straight on (at a 90-degree angle). Don’t tilt the screen or you might look funny.
The Stand
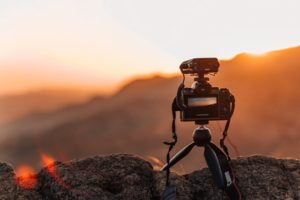
Put your lens at face level to get the most flattering shot. With an iPhone, you can use a small tripod (you can see our favorite, cost-effective solution in this kit).
If you’re using a laptop, however, you can stack it on a pile of books or something to reach face-height.
The Background
Use a sheet or any large piece of fabric as your DIY backdrop. Black works better than white. White tends to wash out the subject, especially under bright lights.
If you have a non-white wall you can film against, then that is another option.
The Editing
There are two cost-effective editing programs I recommend: for a Mac, Screenflow, and for a PC, Camtasia. One other tip for you, check out a tool like Design Wizard, which can help you to create and edit videos online.
The Lighting
You don’t need snazzy lighting equipment or even crappy lighting equipment, just use natural light. To cast an even, warm light, when shooting film by a window or glass door.
The Microphone
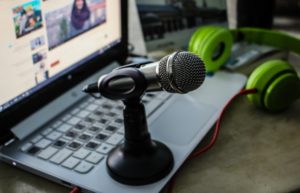
Good sound quality noticeably makes you appear more professional than videos with bad sound quality. Use an alternate device from the one you are filming on to record the sound. This can be your phone, computer, or friend’s phone. Another option is to purchase a decent microphone. Our pick is the one in this kit.
The Fluffy Stuff
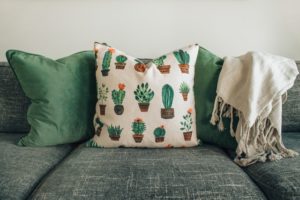
A common issue with home recording is having an echo in the sound. This can come from large rooms or empty apartments (like yours right now, since you just cleared it to make a home studio).
Solution: Use soft household objects to stop the echo. Pillows, rugs, couches, and other fluffy things absorb sound. It’s as easy as throwing some cushions around your lights.
Alright, we hope this was helpful!
If you are looking for more info we’ve put all the best info together for you in one place! Get our free course creation guide!
After your course has gained popularity and made a bit of money, you can invest some funds into upgrading your home studio. To get the steps to upgrade your home studio check out our ebook or become a course creator and register to SOAR today!